Tag: acidity levels
Important How-To’s On Cheese Making Part One: Testing Acid
When making cheese, it may never have occurred to you just how important the process in which we test for acid is. At the point where we are trying to convert the lactose in cheese into lactic acid by using cultures, we can never truly determine if it is working in the way which it is intended to. This is why tracking acidity levels are one of the most accurate ways to know if your culture is working or not.

Equipment Needed
It is actually relatively easy to test for acid and you only really need two basic pieces of equipment in which you can find online:
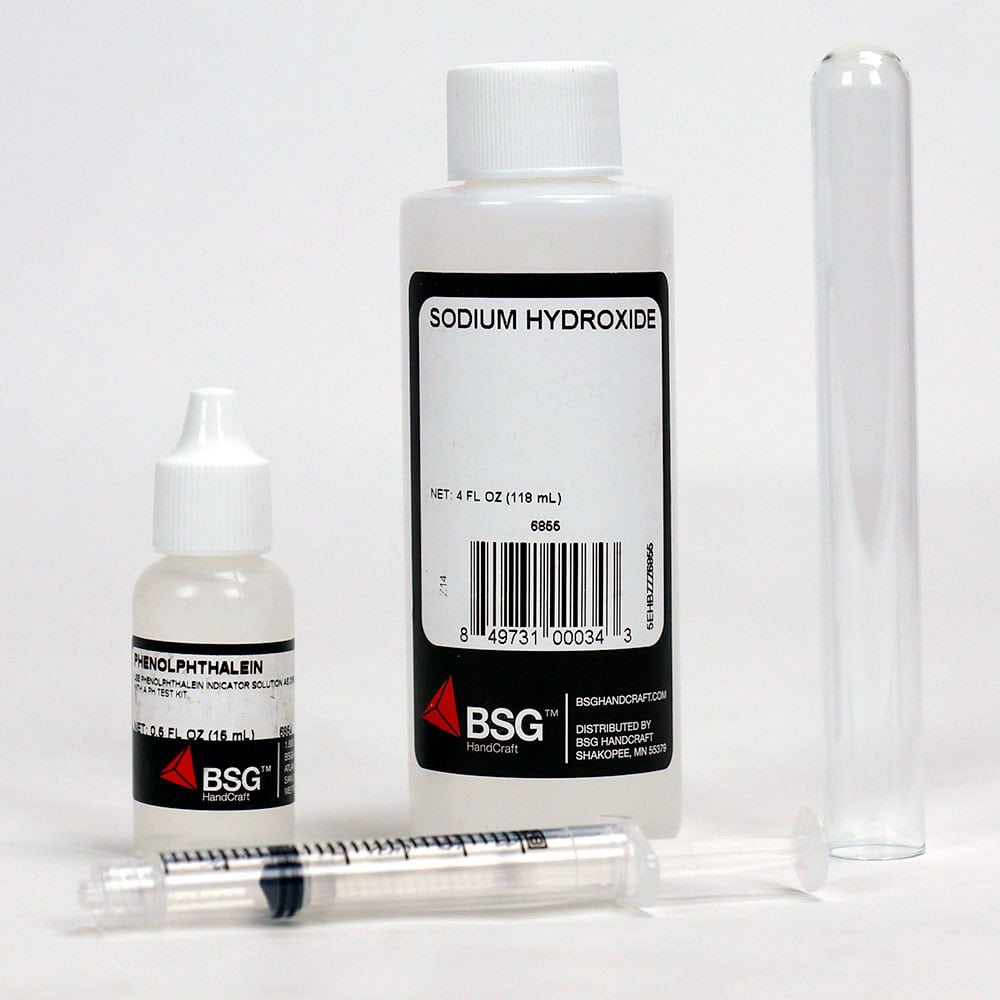
Acid Testing Kit

Using inexpensive acid testing kits, you can easily test the acidity of cheese whey, milk, and other dairy products. It is important to invest in one of these kits because increasing acidity levels is an extremely important stage in cheese making and the kit completely eliminates guess work, to ensure delicious results, as intended. Acid testing kits are generally preferred by home cheese makers who won’t be using it frequently
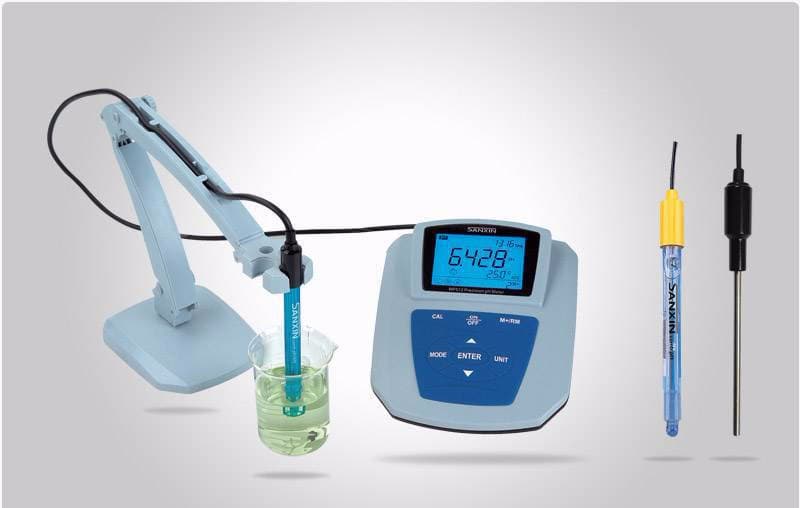
Acidimeter

The acidimeter is for more of a serious home cheese maker or farmstead cheese makers who will be making these tastes quite often. Acidmeters make taking titration readings fast and effortless. A small screw clamp allows you to preset drop speed for repeat titration and a squeeze of the bottle will refill the burette back to the zero point.
How The Test Is Done
Depending on which test you are using, here are directions on how to perform these acidity tests:
1. If you are using the acidimeter, fill the glass reservoir with .1N NaOH (Sodium Hydroxide Solution).
2. Then (still using the acidimeter), fill the graduated column with the NaOH by applying pressure to the rubber pump. It will go back to zero with any excess draining going back into the reservoir.
If you are using the acid testing kit, fill the syringe with 3 ml of .1N NaOH
3. You then use a syringe or a pipette and measure out 9 ml of milk.
4. Now pour the sample into a test tube or beaker (held against a white surface).
5. Then add 5 drops of phenolphthalein to the milk sample and gently stir.
6. Use the syringe to let the NaOH run drop by drop into the sample while stirring it in.
7. Continue to do so until the appearance is a light pink color which persists for 10-20 seconds.
8. Now to work out the percentage of acidity, look at the column or syringe and see how many ml of NaOH was used then multiply it by .1 (move the decimal point one place to the left) for the actual TA%
For an example: If the amount of NaOH used was 1.4ml then the titratable acidity is .14%


