Category: Cheese Rind
Quick And Easy Appetizers Using Cheese
Chevre is a delicious, soft cheese that is so easy to make. All you need to do is add a packet of chevre culture to a gallon of goat’s milk, let it sit and then drain the curds in a butter muslin. You don’t always have to use goat’s milk either, you can easily use cow’s or sheep’s, using the same directions.
If you don’t feel like making your own Chevre, you can purchase it at Shisler’s Cheese House, our Goat’s is to die for!
Endive Stuffed With Goat Cheese

What You Need
1/3 cup coarsely chopped walnuts
2 tablespoons honey, divided
Cooking spray
1/4 cup balsamic vinegar
3 tablespoons orange juice
16 Belgian endive leaves (about 2 heads)
1/3 cup (1 1/2 ounces) crumbled goat cheese or blue cheese
16 small orange sections (about 2 navel oranges)
1 tablespoon minced fresh chives
1/4 teaspoon cracked black pepper
What To Do
Preheat oven to 350F
Combine walnuts and 1 tablespoon honey; spread on a baking sheet coated with cooking spray. Bake at 350F for 10 minutes, stirring after 5 minutes.
Combine 1 tablespoon honey, vinegar, and orange juice in a small saucepan.
Bring mixture to a boil over high heat, and cook until reduced to 3 tablespoons (about 5 minutes).
Fill each endive leaf with 1 orange section. Top each section with 1 teaspoon cheese and 1 teaspoon walnuts; arrange on a plate. Drizzle the vinegar mixture evenly over leaves, and sprinkle evenly with chives and pepper.
Credit: myrecipes.com/recipe/endive-stuffed-with-goat-cheese-walnuts
Bacon Wrapped Jalapenos With Chevre

What You Need
10 jalapenos
4 ounces soft goat cheese
7-8 slices low-sodium, center-cut bacon
What To Do
Preheat the oven to 400F.
Cut the bacon slices into thirds.
Slice the top off each jalapeno, then cut each jalapeno in half. Remove the stems and seeds.
Fill each half jalapeno with about one teaspoon of goat cheese. Wrap each jalapeno in a third of a slice of bacon.
Put the wrapped jalapenos on a baking sheet and cook for 15 minutes. Then, turn on the broiler and broil for an additional 5 minutes.
NOTE: Serving size is two poppers.
Credit: healthyrecipeecstasy.com/spice-up-your-super-bowl-sunday-goat-cheese-stuffed-bacon-wrapped-jalapenos/
Goat Cheese Stuffed Peppadews

What You Need
6 ounces soft goat cheese, room temperature
2 large garlic cloves, minced
2 tablespoons chopped fresh basil, chives, thyme, or other fresh herbs
2 tablespoons heavy cream or half-and-half (as needed)
salt and pepper, to taste
1 jar Peppadew peppers (about 20-30 peppers)
What To Do
In a bowl, combine goat cheese with garlic and herbs, stirring until evenly incorporated. Add cream as needed, 1 tablespoon at a time, to thin out filling if necessary (the amount needed will depend mostly on the softness of your goat cheese). The filling should be the consistency of buttercream frosting.
Season to taste with salt and pepper.
Fill each Peppadew with about 1/2 teaspoon of filling. I find it helpful to load the filling into a piping bag fitted with a 1/4-inch round tip, which makes it very easy to neatly fill each pepper completely full.
Serve immediately or refrigerate for up to 2 hours; let come to room temperature for 15 minutes prior to serving.
Credit: loveandoliveoil.com/2013/10/goat-cheese-stuffed-peppadews.html
Cheesemaking: How To Make Gamalost
Gamalost is a Norwegian cheese which is rarely found in stores outside of Norway so this recipe will come in handy for eager cheesemakers. The cheese is generally hard with a mold ripened rind.

Recipe
What You Need
3 gallons skimmed milk
1/2 Tsp. thermophilic culture
1/8 Tsp. penicillium Roquefort mold powder
1 Tsp. cheese salt
A pinch of cylindrocarpon spp. mould powder
What To Do
Firstly, sterilize all equipment in which will be used.
Begin by pouring the milk into a large stainless steel pot and let it sit until it is at room temperature.
Once the milk is room temperature, sprinkle the culture over the milk and let it stand for 5 minutes. Then begin to gently draw the culture down into the milk with a skimmer, using up and down motions. Be sure not to break the surface of the milk. Cover the milk up and let it stand at room temperature for 48 hours or until the milk is sour.
After 48 hours, put the pot in a hot water bath over low heat and slowly heat the milk to 145F.
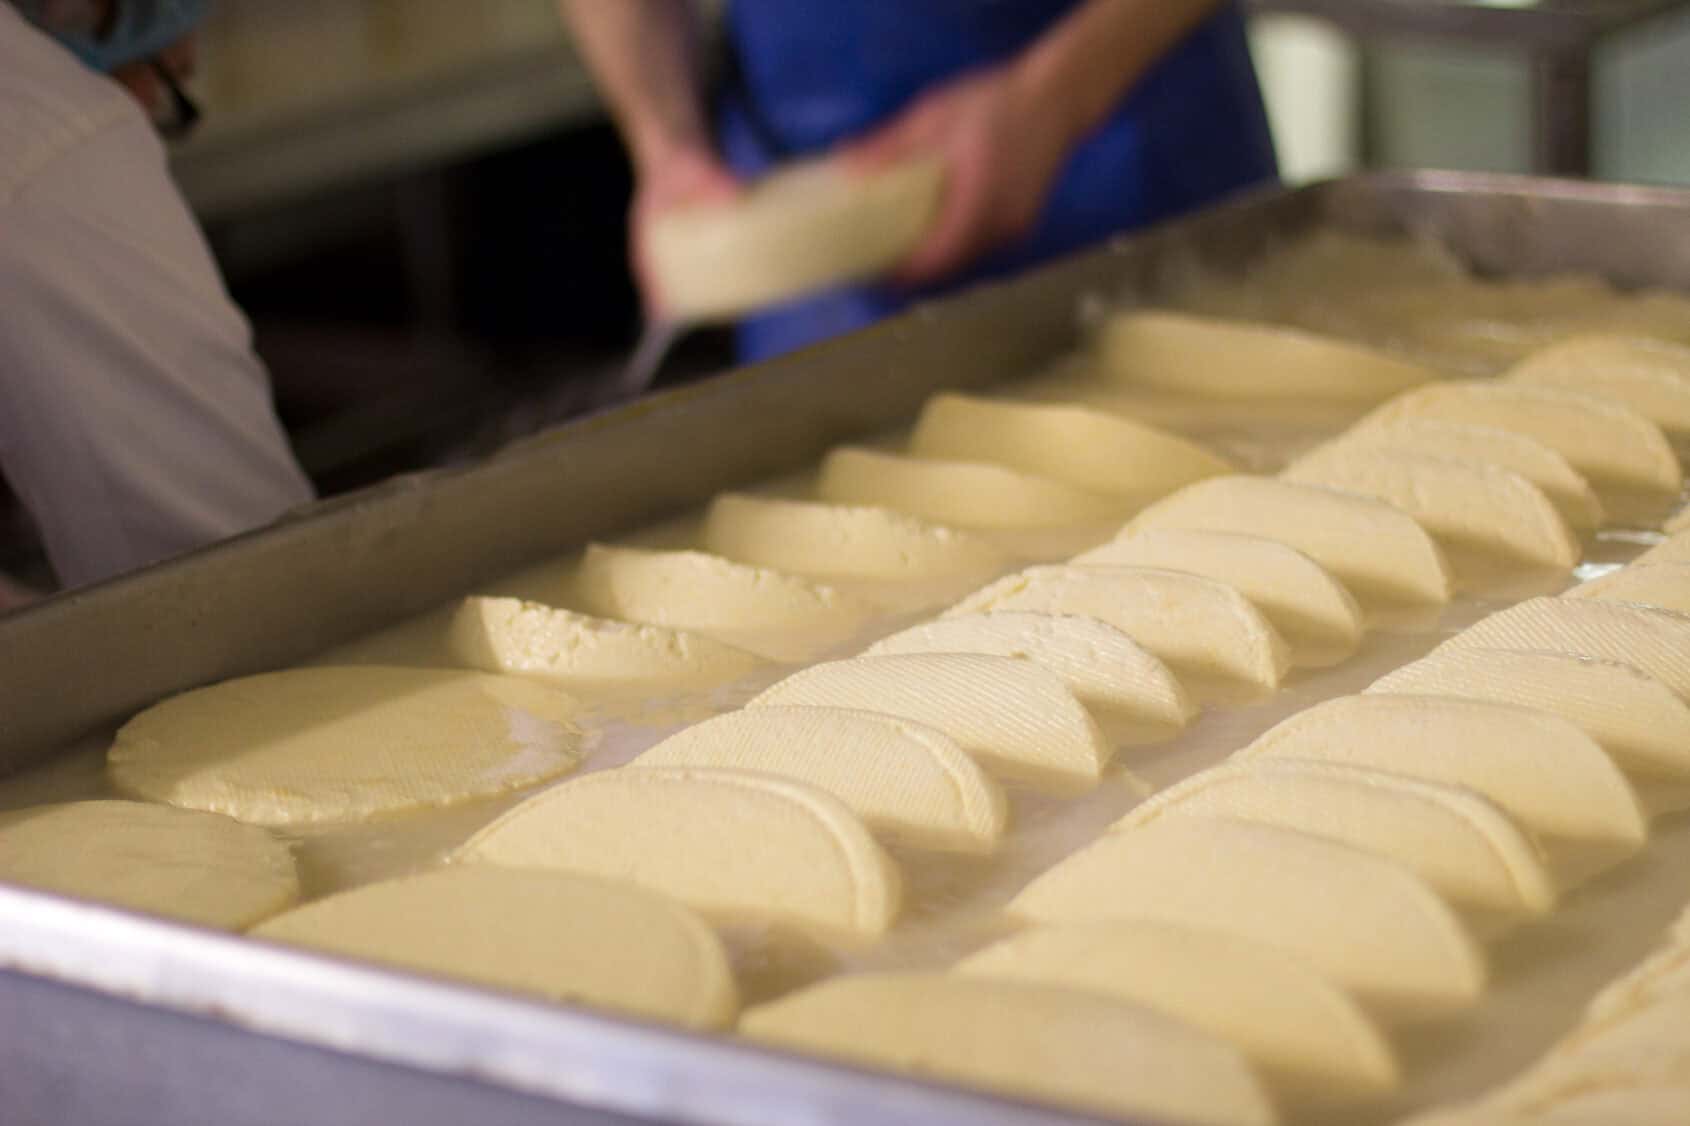
At 145F, turn off the heat and let stand for 30 more minutes. The solids will begin to separate from the whey and form a stringy texture.
Using the skimmer again, dip curd mass from the pot and place it in a muslin-lined colander. Now fold some cloth over the curd and press it the cheese through the cloth to drain as much excess whey as possible. Let it drain for around 7 hours.
Now remove the curd from the cloth and break it up into pieces with sterile hands.
It is time to pack the cheese into a mold which is lined with cloth and let it drain on a rack in a draining container for 2 days at room temperature.
After 2 days, remove the cheese from the mold and break up into 1-inch pieces. Place the pieces into a bowl and sprinkle them with the 2 mold powders and then mix them in salt.
Once again, place the cheese into a tightly packed mold. Add a weight to the top or place in a press and let it sit for 12 hours.
Now remove the weight and unwrap. Dry the cheese on a rack at room temperature for around 3 days, being sure to turn it daily. The cheese should become a yellowish color and be very pungent in smell.
When the cheese is ready, place the cheese on a mat in a ripening container. Ripen the cheese at a temperature of 50F and a humidity of 90% humidity for at least 3 weeks and up to 7 months. During this period, mold will begin to grow on the surface. When you notice this change, turn the cheese and rub the mold into the rind by hands at least 3 times a week.
After 2 weeks, pierce the cheese with a knitting needle or something similar all the way through vertically and horizontally in several places to encourage blue veining to occur in the interior.
What To Do With Leftover Whey
You’ve taken that step to conquering the art of cheesemaking and you find yourself landed with a pound of delicious cheese, along with a whole lot of leftover whey. You’re wondering what can you do with all that protein rich whey? Lots of things- it does not need to go to waste!

Before you start, you need to know a few things about whey. Whey is basically milk but with the solids and fats removed from it (the solids now being your cheese). It may as well be water however it contains lactose (milk sugar) which is water soluble and ends up draining off with the whey. Now if you are lactose intolerant, it is advised that you avoid whey.
The biggest part of whey is whey protein, which you may be familiar with if you are an avid gym user. There are two types of protein within milk- whey and casein. Most of the casein from the milk ends up in the cheese which you make and most of the whey protein ends up in the whey, as you would guess from the name.
Back in the day of cheese making on a large scale, cheese makers needed to be creative to find a use for their leftover whey. Before industrial cheese making took over, farm cheesemakers would feed it directly to the cattle as a protein source. Nowadays, industrial cheesemakers have to find other ways to make use of the “waste”.
Cheesemaking companies began to market their leftover whey to companies which make protein-enriched products such as protein shakes and bars because whey is bursting with protein. Since then, the protein industry has boomed and has overcome the cheesemaking side of the business altogether.
In fact, the demand for whey protein has become so huge that it is no longer the by product and is actually the primary product for some large-scale cheesemakers. However, that being said, a home cheese maker is not likely to sell their three quarts of leftover whey to a protein shake manufacturer. There is really no need when there are so many uses for whey in your home. The only thing the end use depends on is whether the whey is salted or unsalted. There aren’t as many options for the salted variety as opposed to the unsalted:
Salted:
– Baking: You can use the whey in place of the water or milk when baking bread or pastry recipes. Make sure you omit the salt.
– Rich Homemade Stock: Save up your vegetable trimmings and bones as usual and use whey to cover them instead of water and bring it all to a boil and then let it simmer for a couple hours on low so that the flavor can be extracted.
Unsalted:
– Protein Smoothies And Shakes: You can make your homemade protein products by easily adding some whey to your shakes or smoothies to boost your protein.
– Feed To Animals: Now not everyone will be able to do this, but if you happen to have farm animals such as chickens, you can feed the whey to them. It is not advisable to feed it to your cats or dogs because like milk, it can have a bad effect.
– Bathe In It: Apparently, whey can work wonders on your skin like nothing else, it is definitely worth a shot.
– Drink It: The tang of whey may be an acquired taste but it can be refreshing. The cultured whey has probiotics that can help balance the microflora in your gut for a hidden bonus of the protein.
– Freeze for later – You can always freeze your whey for later. I recommend splitting it into smaller, manageable batches and freezing separately. It will keep in the freezer for up to 6 months, possibly longer.
– Ricotta – Many people ask about making ricotta from leftover whey. If you made cheese using a culture then you must do this. You still end up with some whey to use up, but you get some additional cheese from it.
These are just a sample of some of the uses you can get out of whey. There are so many that you will never have to throw whey out again!
Making Something Different: Chaource Cheese
The name of this cheese alone is interesting, not to mention its unique flavor and form. You may never have heard of it, which makes it even more worth a try on firstly pronouncing (shah-oose) and then creating it!
Chaource is a mold-ripened cheese that originates from a small village in France called Chaource. It is usually made with both raw and pasteurized cow’s milk.
The rind of these cheese is similar to Camembert and has the same texture that just melts in your mouth. It can be aged for 2 weeks to 2 months and the flavor flourishes with time.
Down below is a big recipe for around 8 blocks of cheese, but you can easily half it if you so desire.

Recipe
What You Need
2 Gallons whole milk (can be pasteurized, but not ultra-pasteurized)
1/4 Tsp Mesophilic culture
1/8 Tsp Aroma Type B
1/4 Tsp Penicilium candidum
1/16 Tsp Geotrichum candidum
2 drops Animal rennet
Cheese salt
1/4 Tsp Calcium chloride
Equipment
8 Crottin molds
Thermometer
Butter muslin
Colander
Scoop or ladle
2 Bamboo ripening mats
Ripening box
Cheese wrap
What To Do
First things first, it is important that you sanitize every piece of equipment that will be used, including the ripening box.
Now dilute 1/4 tsp calcium chloride in 1/4 cup of non-chlorinated water and add this to the milk.
Heat the milk up slowly to 77F, checking the temperature with your thermometer.
Once the milk is warmed up, sprinkle all 4 cultures onto the milk and let it hydrate for around 3 minutes.
After 3 minutes, begin to stir the cultures for about 20 seconds into the milk.
Now cover the pot with a lid and let the milk ripen for around 8 hours, making sure the temperature stays at 77F for the entire period. If you are heating the pot with water, you might have to add hot water half way through the ripening to maintain the heat.
Add 2 drops of rennet to the milk and stir it in slowly for around 10 seconds.
Now cover the pot and allow it to sit for a further 8 hours, once again keeping the heat at 77F.
After the 8 hours is up, gently put the curds into a colander with a ladle, ensuring the colander is lined with butter muslin. Make sure you do not cut the curds. If you really wanted, you could skip this step and just ladle the curds directly into the molds but it can be quite difficult to get them all in.
Once in the colander, now ladle them into the 8 molds. Keep replenishing them as the whey drains from the molds.
If you would like to speed up the process of draining the whey from the molds, you can run a knife along the inside of the molds.
When the whey is getting to the bottom of the molds, empty the box. This step is important because the environment needs to be kept as dry as possible.
Let drain for around 48 hours. If the cheese seems firm enough, turn them around and put them back into the molds for 24 hours.
48 hours later, it is time to remove the cheeses from the molds and place them on wax paper or a paper towel whilst drying off the box.
Prepare your rack in the dry box.
Get each cheese and rub a thin layer of salt onto both ends of it. Be sure to wait a few minute between each end and then put each cheese into the box until they have all been salted.
Now close the lid on the box and place it in a space of 50-55F
Make sure you flip the cheeses every day and drain any whey in the bottom of the box.
The cheese will be ready to eat after 2 weeks of being in the box. If you are wanting to age them any longer, keep them in your cave with the lid ajar and make sure you flip them every day. Once you are ready to eat them, wrap them and place in the refrigerator. They’re best served at room temperature.
The Cheesemaking Process For Tomme au Marc
This cheese is usually found in Italy and France. Tomme is made and buried in the seeds and skins of wine making and from these skins, a liquor is also made in the name of ‘Marc’, which explains where ‘Tomme au Marc’ comes from.

What You Need
In this recipe, we use 8 gallons of milk and with that you also need:
– MA 011-Mesophilic Culture 1/8 Tsp
– TA 011-Thermophilic Culture 1/16 tsp
– Single strength Calf Rennet 11 ml (~2.25 tsp)
What To Do
To begin, heat up the milk to 91F and add the first culture and ripen for 45 minutes.
After 45 minutes, add enough rennet so it sets within 12-18 minutes and cut the curd into a small size (roughly 1/4 in.).
Now stir the mixture for around 10 minutes and slowly increase the temperature to 98F over the course of 30 minutes.
You can now continue to stir the curd until the TA% rises to .12. This will ensure that the curd is sweet but acidity will begin to develop in the molds.
Make sure you prepare the molds with warm water or whey being poured into them before transferring the curds. This will ensure clarity of the whey which means there was very little fat lost during handling.
After a few minutes of filling the molds with the curds, you can flip them and place them back into the molds. This makes the surface come together fairly quickly.
Now add around 8lbs of weight for around 30 minutes. After those 30 minutes, flip and place the molds again, making sure the temperature stays at a range of 90-95F to help the culture do its job.
Add around 25lbs of weight for 4-6 hrs. After this period, the surface should have formed really well and the acid will be developing nicely to a pH of 5.6
You can now leave the cheese to develop mold overnight and the pH should have lowered to around 5.3 in the morning.
It is time to brine your cheese for around 12 hours. The choice of brine is yours and after it is completed, take your cheese to the aging room and leave it for a week or so to allow the surface to firm up a lot more.
After a week or two, the tommes are ready to be buried in the Marc and anointed with a delightful splash of merlot.
Seal the top off and put it to rest in a cool room at a temperature or around 50-60F for at least 2 months before you take it out.
Once this is done, the tomme will be bursting with skins and seeds embedded within it. Keep them on the cheese and allow the tomme to dry out for a few more days, making the surface quite soft at this stage.
All this work is definitely worth it, the complexity of this cheese is perfection. The flavor of the wine and skins being a key aspect of the flavor and texture profiles. Enjoy!
Have You Ever Tried Brie Pie?
This rich and luxurious pie is not your average pie. In fact, pies in the U.S are usually eaten for dessert, but Brie pie is more of an appetizer or entree.

Luckily, like a lot of the delicious appetizers on offer, this one is fairly simple to create and has an amazing payoff. It may look quite difficult, but it only entails wrapping a wheel of brie in a thawed sheet of puff pastry and cooking it until golden. Even if it was difficult to create, the combination of warm melted cheese inside of a crispy pastry is impossible to resist and worth every effort.
The type of Brie you get isn’t too important, a rule of thumb would be to buy one that fits your hand and looks good to wrap in pastry.
Let’s get right to it and create this cheesy masterpiece!
Recipe
What You Need
8 oz of Brie
1 sheet puff pastry, thawed
All-purpose flour
1 large egg, beaten
What To Do
Firstly, preheat oven to 400 F, making sure the oven rack is in the middle of the oven. Now line a baking sheet with parchment and set it aside.
Start by rolling out the puff pastry, using the flour to dust out on the counter and then sprinkle some more flour on top to the pastry to aid rolling further. Roll the pastry so that it measures around 11 x 11 inches to make sure it fits around the Brie.
Now it is time to wrap the brie in pastry. Place the wheel of brie in the middle of the pastry and fold the corners over the brie, creating a neat package. Press against the edges gently and neaten the sides up.
Brush the pastry over with the beaten egg, making sure you get the sides and transfer the pie to the baking sheet.
Bake the pie for around 35-40 minutes or until golden brown.
Now allow cooling for 5 to 10 minutes which will give the hot cheese time to firm up.
Transfer it to a serving platter and serve it warm.
Creating Mouthwatering Halloumi
Halloumi originates from the island of Cyprus and tends to be a semi-hard, unripened, and brined cheese. It is unique for having a high melting point which means it can be easily grilled or fried- perfect for summer cookouts! What makes it better is because it doesn’t melt, it keeps its texture and shape, keeping the incredible flavor and soft insides.
Although Halloumi has been around for a long time, it is particularly getting more popular over in the western countries because there has been a rise in vegetarians, it acts as a delicious meat substitute.
This cheese is traditionally made with ewe’s milk and added cow’s milk, but it is perfectly fine to make it with just 100% cow’s milk since that is more readily available. You can even substitute the milk for your own desired type. In this recipe though, 1 gallon of cow’s milk will be used for a trial run to see if you enjoy the cheese, ingredients can easily be adjusted to fit the amount of milk you would like to use.

Recipe
What You Need
1 Gallon of Milk (not ultra-pasteurized)
1/4 Tsp Single Strength Liquid Rennet (1/8 tsp for raw milk)
1 Pack C21 Buttermilk Culture or 1/4 tsp MA4002 (no culture for raw milk)
3/8 Tsp Calcium Chloride for Pasteurized Milk
1/8 Tsp Citric Acid (for Whey Ricotta)
1/2 oz Salt
Equipment
Knife to cut curds
Large colander
Ladle or spoon to stir curds
Thermometer
What To Do
1. To begin, place your milk in a pot and heat it to around 88 degrees F. Be sure to hear slowly and stir well if heating on a stove.
Once your milk has reached the desired temperature, add the culture. The culture will be destroyed by the milk and the curds will become higher in temperature. However, they will provide special enzymes for ripening if the cheese is preserved for a short period of time.
Also, if you are adding calcium chloride or lipase, add them in this step and stir to incorporate it well into the milk.
2. Now, add the liquid rennet to a diluted 1/4 cup of water. This will begin the coagulation process. It will take approximately 30-40 minutes for total coagulation but you will notice the milk begins to thicken within 20 minutes.
3. The curds can now be cut to .75- 1.5 inch squared in a vertical manner. Then allow to stand for 5 minutes to heal and then using your ladle, cut horizontally into even sized cubes.
4. Time to cook the curds and remove the whey. Stir gently, increasing the heat slowly to 100 degrees F during 20-30 minutes.
Keep this temperature for another 20-30 minutes while stirring every 3-5 minutes.
Once that time period is over, allow the curds to settle for 5 minutes under the whey.
Cooking the cheese in hot whey is very important for the making of Halloumi, so beginning to filter off the whey from the curds is the next step. You can do this with a sanitized colander and just scoop the whey out with a ladle, cup or bowl.
Now that the whey has been separated, slowly heat the whey to 195 degrees F, without letting it boil.
5. The curds which are dry can be transferred to their form from draining. Light pressure from your hands will help the consolidation of curd and make more than 1 form, they can be stacked and reversed for a little weight.
You can allow the curds to rest with a little weight, stalking them in forms. Make sure you turn them at 20-minute intervals to form a well-consolidated cheese.
6. After the whey has been heated, it is time to give the Halloumi its true form by heating the whey for 30-40 more minutes, keeping it at a temperature of 195 degrees F for the time it takes to cook all the pieces of Halloumi. Use a ladle to keep the cheese off the bottom of the heating pot and then lower it into the whey. At first, the cheese will float to the bottom, but as it cooks, it will eventually float to the surface.
Once it floats, that means it is ready to be removed. Cool the cheese for a few seconds in cold water and then lay it on a draining mat to cool and drain a bit more.
7. While you are cooling the cheese, and it is still warm, flatten with your hand to form a larger, flatter disc of cheese.
Now finish it off by sprinkling the cheese with salt and folding it into a crescent and pressing slightly as it cools.
8. Now your cheese is done, after a 3-5 day process. You can keep it refrigerated if it is lightly salted. If you are wanting to store it more traditionally, at room temperature, the higher amount of salt will keep it well for several days.
Important How-To’s On Cheese Making Part Three: Bandaging Cheddar
So you’re done making your delicious cheddar cheese, the curds are pressed and you’ve removed the cheddar from the mold, it is time to bandage your cheese! Here are some useful directions that will allow for a perfectly bandaged block of cheddar, ready to age.

1. You can begin by cutting 2 circles of muslin cloth which is just slightly bigger than the top of the cheese. Now melt some lard or butter (lard is better for binding) and soak the cloth in it. This is to help the cloth to adhere to the cheese surface. Be sure to wring the cloth of excess.
2. Next, spread the cloth evenly over the surface and smooth it out from center to the edge.
3. After that, bandage the other end and repress it for about an hour at max pressure.
4. Now the side should be finished in a similar manner to the top. Put it back to press overnight.
5. Once you have removed the cheddar from the press, it will be wrapped in cloth and ready to age for around 8-24 months. To ensure this goes successfully, the cloth must be airtight and well pressed against the surface of the cheese. You should wipe away the excess lard/butter from the surface of the bandage before you place it in the cave.
6. You can now place it on a shelf in the cave at 55F and 85% humidity. Turn it once a day for the first 8-12 weeks.
7. The first natural molds will begin to show after the first 2-3 weeks. These will continue to grow and spread over time. You should begin turning only two times a week after 2-3 months of aging.
8. The mold will eventually dry off as the moisture of the cheese decreases, leaving the surface quite rustic after 8-12 months.
Important How-To’s On Cheese Making Part Two: Salt Brining Cheese
The main reason that cheese makers salt brine their cheese is to slow down or completely stop the bacteria process of converting lactose to lactic acid. A lot of lactose is removed during the process. If cheesemakers were not to salt the cheese, the residual moisture will contain enough lactose to produce more acid than ideal for proper curd ripening. Another reason for salt brining is for the cheese flavor.
The moisture is also pulled from the surface to begin forming the rind of the cheese when it is salted. This also tends to allow many molds to grow.
How To Brine Cheese
Firstly, we need to determine when to salt the cheese. Cheese will be ready for brining once the final pressing has been completed and the cheese has been moved to a cool cave to stabilize the temperature. If you were to brine warm cheese, it will cause the rate of salt absorption to increase which ultimately causes over salting.
Once your cheese is ready and prepared, pour your brine into a none reactive pan. Here is a good, simple brine formula if you don’t have any brine in mind:
Add 2 lbs of salt to 1 gallon of water, then add 1 tbs. calcium chloride (30% solution) and 1 Tsp. white vinegar.
The result of that will be saturated brine at 5.2 pH, suitable for most cheeses.
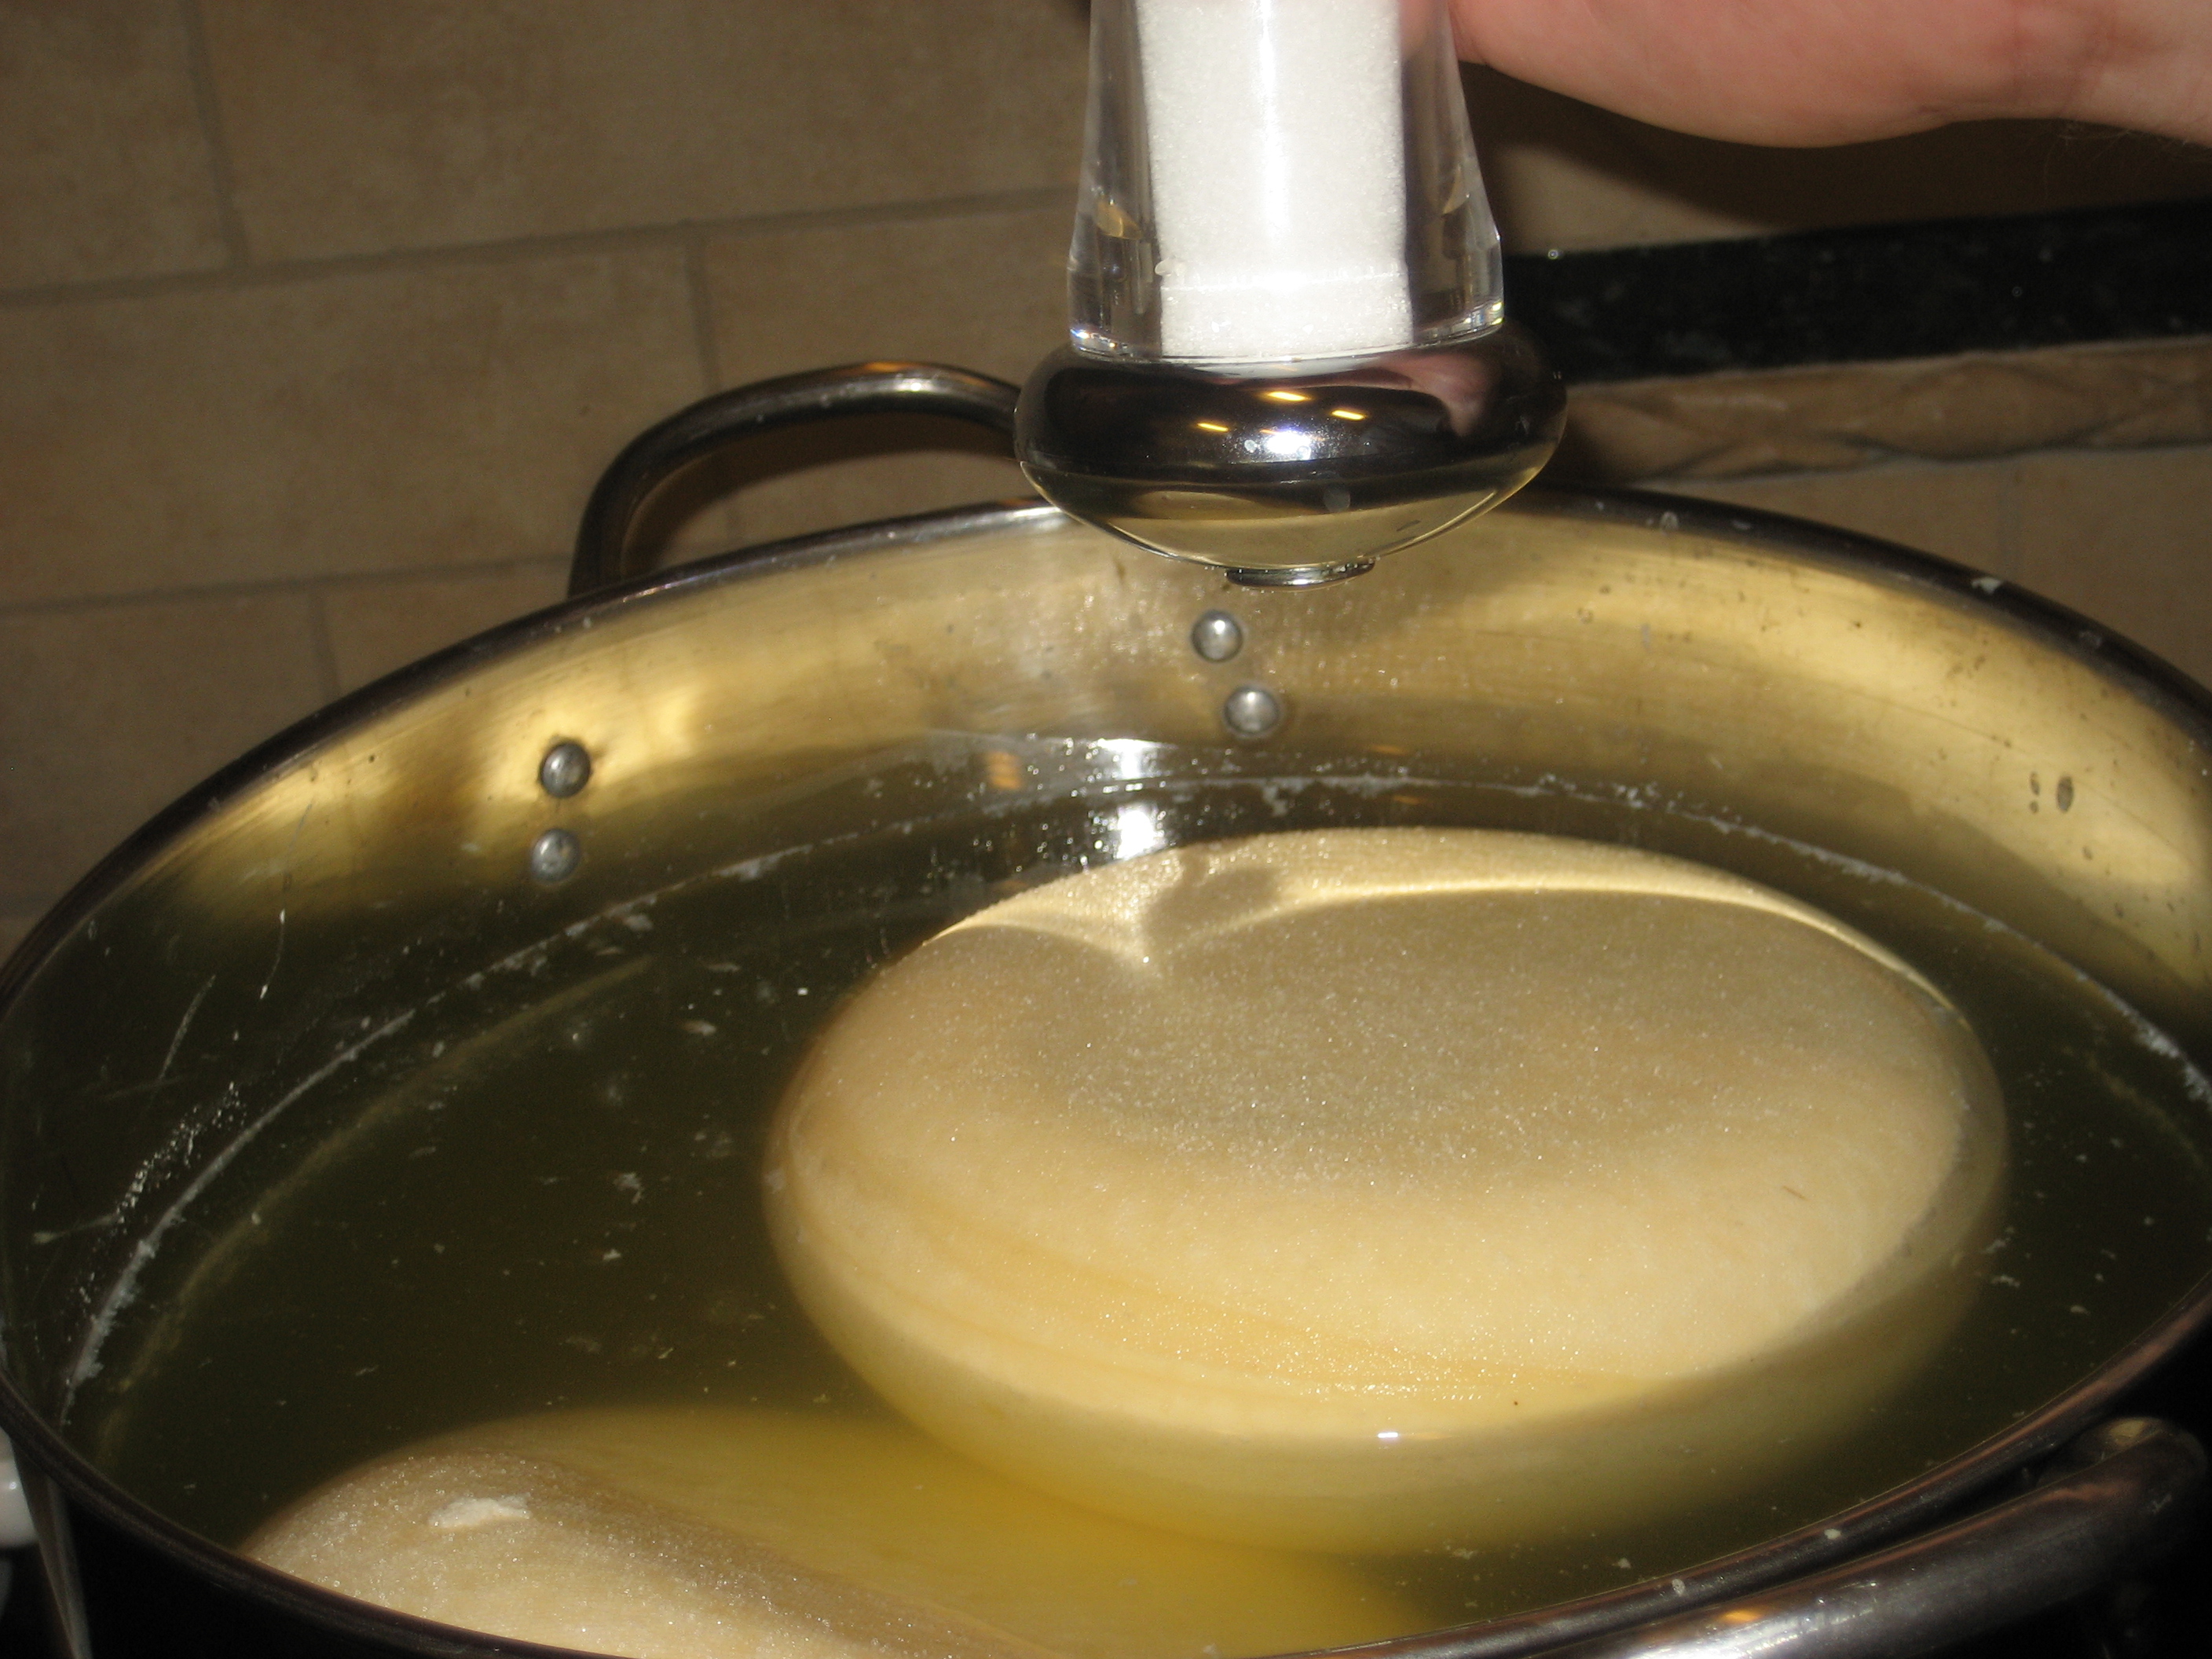
Once the brine is in the pan, place your cheese into it. The cheese will float because of the density of the brine, resulting in the surface of the cheese rising out of the brine. You have to keep this in mind because the surface of the cheese will not get salted during the brine process like the rest of the cheese. To fix this, you can simply add a small amount of salt to the surface of the cheese. This will allow your cheese to form its own brine because of the surface moisture.
How long it takes to brine cheese varies depending on the shapes and densities of the cheese. A general tip is to brine for 1 hour per lb. per each 1 inch thickness of cheese. For example, a dense low moisture cheese like Parma will need more time than a moist open texture cheese.
How you should handle cheese after brining is an important step also. It should be drained and allowed to air dry for a day or so, turning it when needed. Once the surface is dry and firm, the cheese can then be waxed or the process for developing natural rind can begin.
Other Useful Information Surrounding Salting With A Brine
How much salt is enough?
Adding salt until the salt no longer dissolves when added is the way to go. This means the brine is made up of a saturated strength.
How do you make the brine as good as possible?
Keeping the brine as cool a temperature as possible is ideal for the brine. A lot of the time people keep it at around 50-55F and store it in the cool cave area to keep it cool.
How long will the brine keep?
Brine can keep for around a year or two. Even if it gets moldy or looks bad, you can just bring it to a boil and re-filter it.
Generally, good brine gets better with time.
How The Aging Process Works
As they say in the real world, age doesn’t matter. However, in the cheese world, it truly does matter. Aging, otherwise called ripening is one of the most important parts when producing cheese. When we set cheeses to mature in controlled environments, they begin to develop their unique textures, appearances, aromas, and flavors. For example, when Swiss cheese ages, holes begin to form and it firms up.
Timing

The scientific processes of when cheese ages are as followed: the enzymes and microbes develop inside the cheese and breaks down milk fat and proteins into a complex mix of amino and fatty acids. In simpler terms, aging basically transforms the texture of the cheese and intensifies the flavor.
For most cheeses, the aging period usually requires two weeks to two years in order to develop their unique attributes. When cheese ages it generally gets a lot more firm and distinctive in flavor and aroma. When aged for 24+ months, Parmigiano Reggiano becomes a lot more complex, developing a fruity taste alongside a gritty, firm texture. Not every cheese is aged though, mild cheese like cream cheese, cottage cheese and ricotta aren’t aged at all and are consumed when fresh.
Temperature

Temperature is very important when it comes to aging. Cheese is stored in cellar or cave type environments which have a closely monitored temperature and humidity. Not all environments are the same though, it all depends on what type of cheese is being made. When it comes to aging, soft cheeses, cooler temperatures are used and the process takes a lot longer because you must age soft cheeses slower to avoid bacteria, in a result of high moisture. If you want to age firm cheeses, high temperatures are used to get rid of excess moisture.
For general aging, the temperatures of the environments that aging takes place in a range between 10 degrees C to 15 degrees C. High moisture conditions are pretty normal, along with at least 80% humidity upwards.
Aging Techniques
Like many things, there are different ways to age cheese. Lots of different techniques are used to make many of the amazing cheeses we love. There are two main techniques which are called surface ripening and interior ripening.
For surface ripening, the aging begins on the outside of the cheese and progresses towards the inside. To encourage the growth of rind, microorganisms are rubbed onto the outer surface of the cheese. Brie, Munster, Morbier are an example of surface ripened cheeses which are also washed in a saltwater brine during the process. Sometimes, the brine is seasoned with wine and spices which carry flavor into the cheese and nurtures bacterial growth.
When it comes to interior-ripened cheeses, it is opposite to surface ripening and begins from the inside of the cheese and moves outward. The cheese is coated with wax to prevent further oxygen action on the surface, once it is done aging. Examples of an interior- ripened cheeses are Cheddar and Swiss.
For interior-ripened blue cheeses such as Gorgonzola, Stilton, and Roquefort, they contain additional bacteria and molds introduced to them during an aging period. Sometimes, the Penicillium molds are injected into the curd whereas other times, the microbes are already present in the air and grow within the aging cheese. For these molds, they grow into small fissures within the cheese, creating the famous blue-green veins and sharp flavor throughout the cheese.

